
01
One shortcut, from any app
Press ⇧⌘S anywhere in macOS and the capture overlay drops in instantly. No window to open, no menu to hunt for. The global shortcut works whether you are in Mail, a browser, or a design tool.
05 / Screenshots
One global shortcut, drag a region, and the capture opens in a CleanShot-style annotation editor. Draw arrows, highlights, and shapes in eight colors, then copy with ⌘↵. Paste into any Routines chat and Claude reads the pixels directly. Need something changed in the image itself? Switch to Edit mode, type the instruction, and the capture is replaced in-place by AI. Native, local, nothing saved to disk. It replaces a tool most people keep in the dock, alongside the rest of our favourite Mac apps.
Mark it up
The capture opens in a CleanShot-style editor. Draw arrows, highlights, and shapes in eight colors. Adjust stroke weight, undo any step with ⌘Z, copy with ⌘↵. Skip the editor entirely in one setting and go straight to the clipboard.
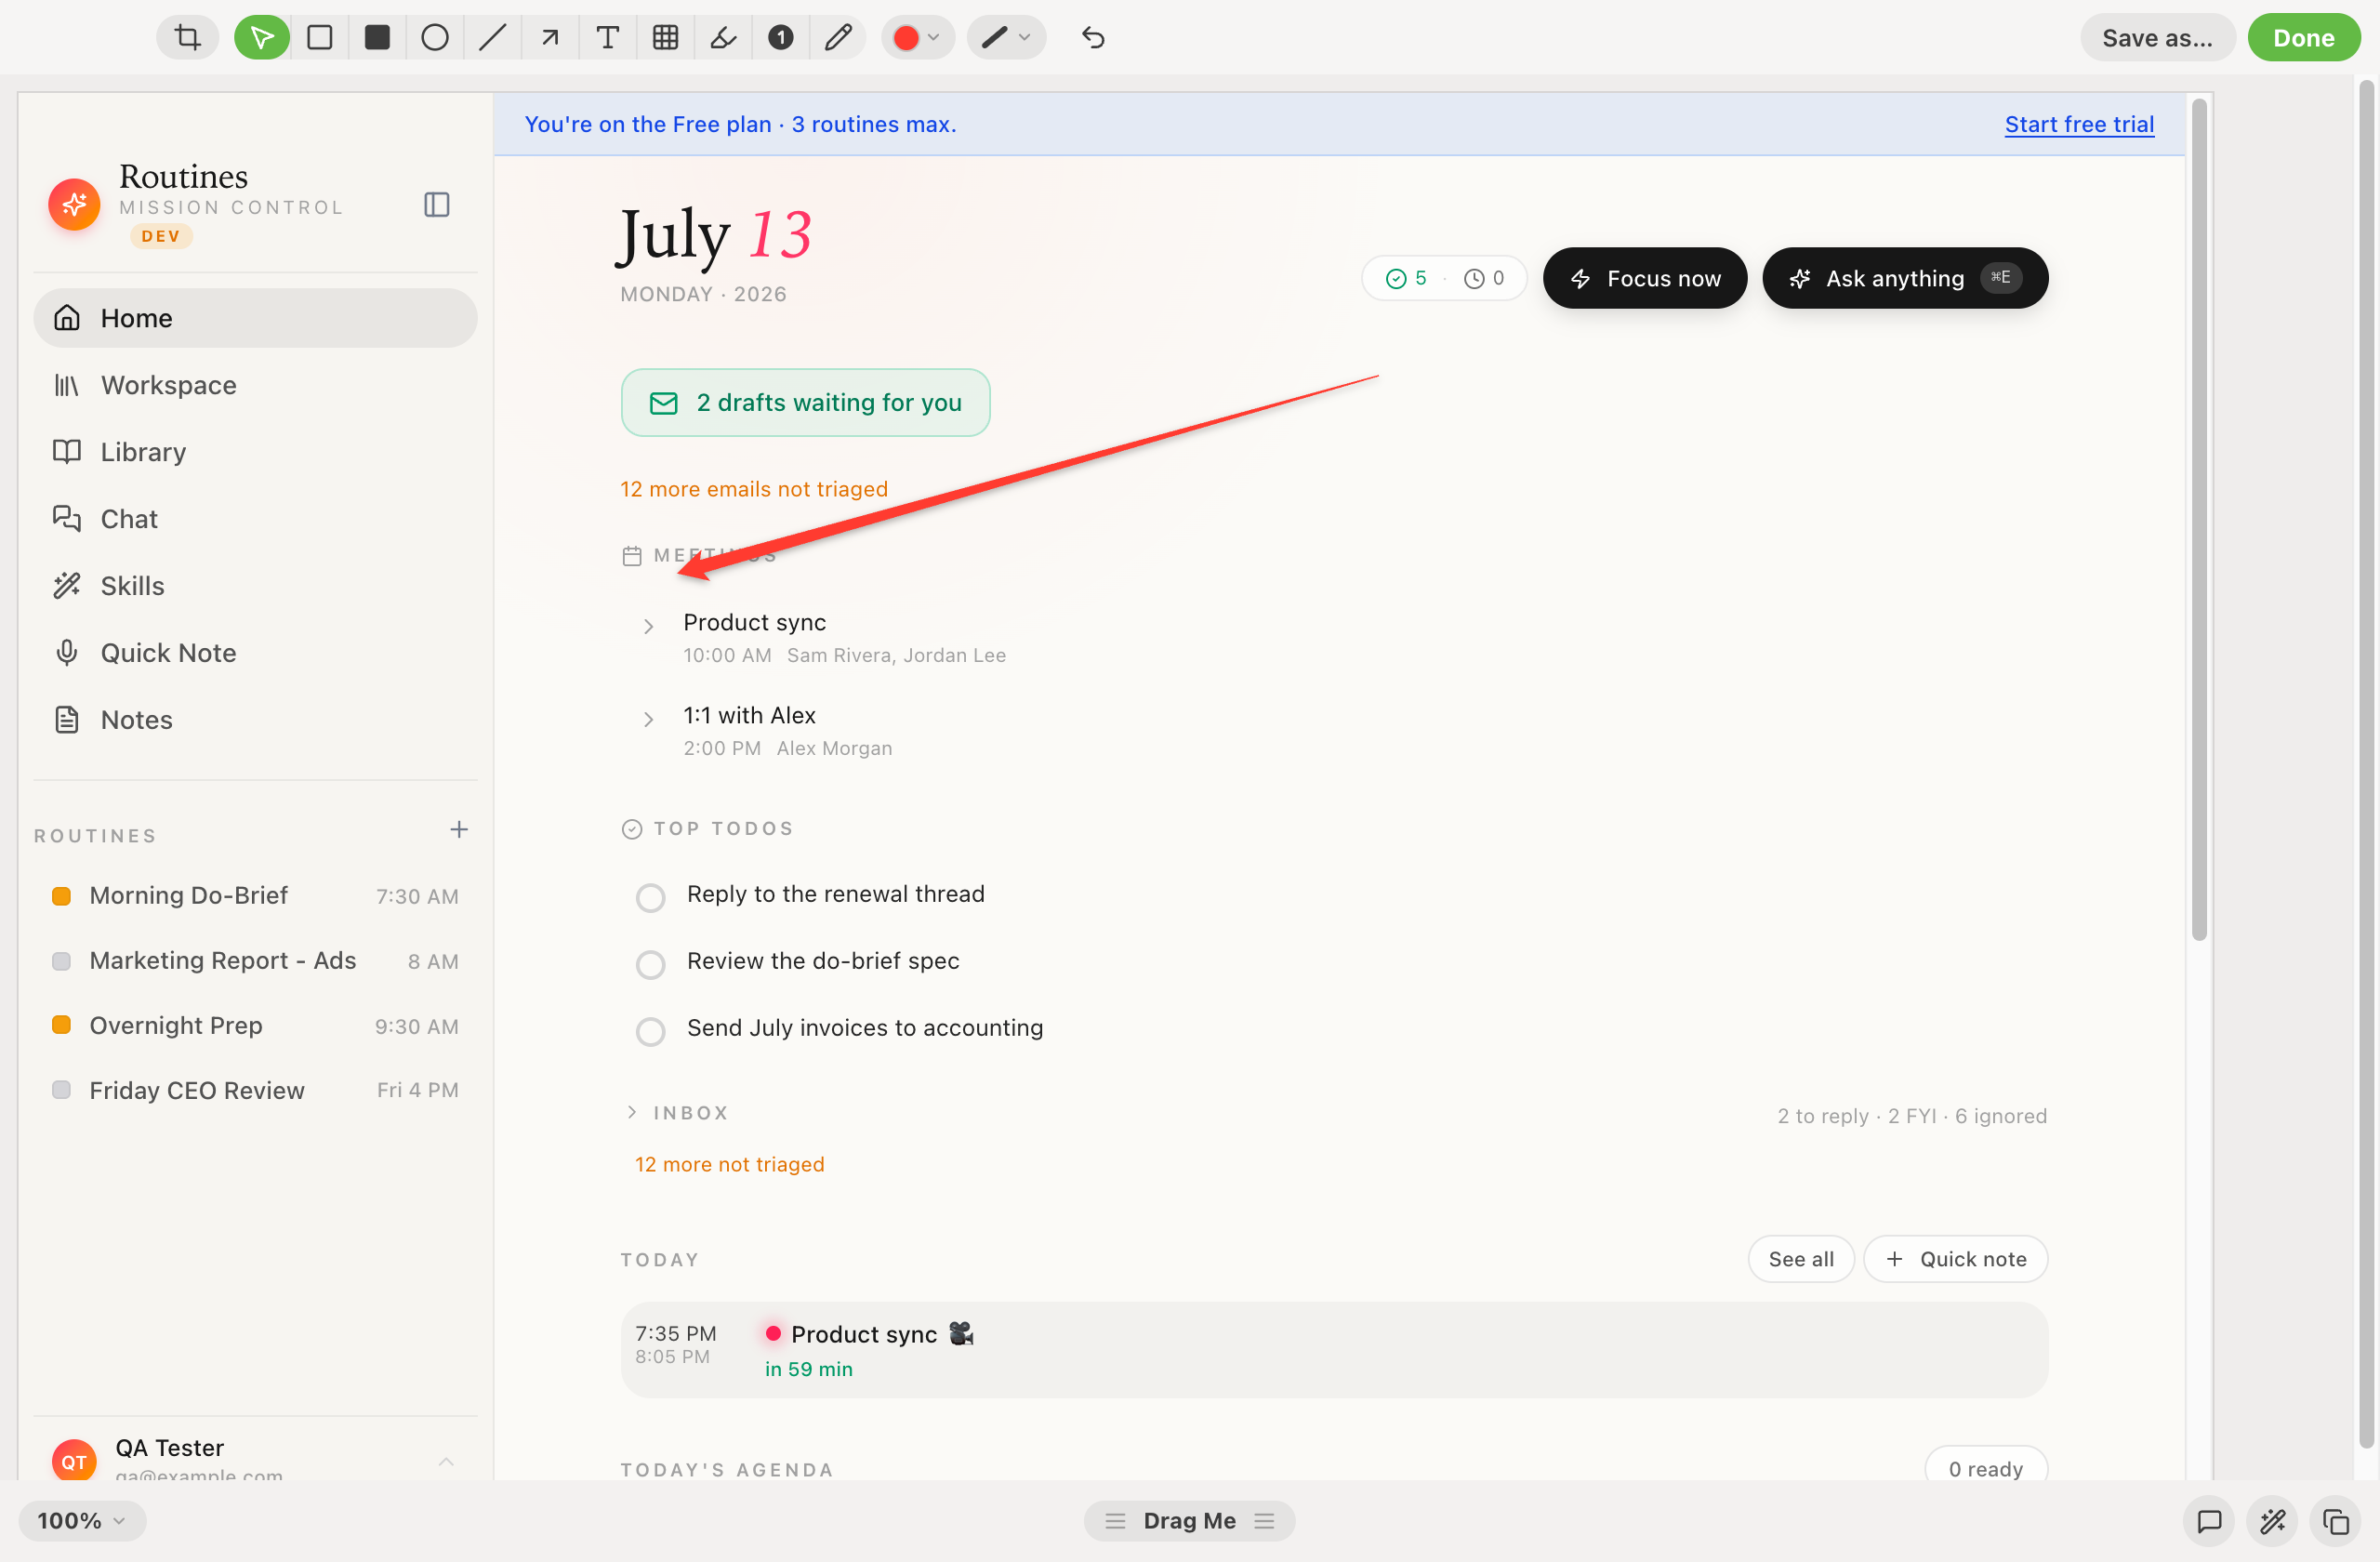
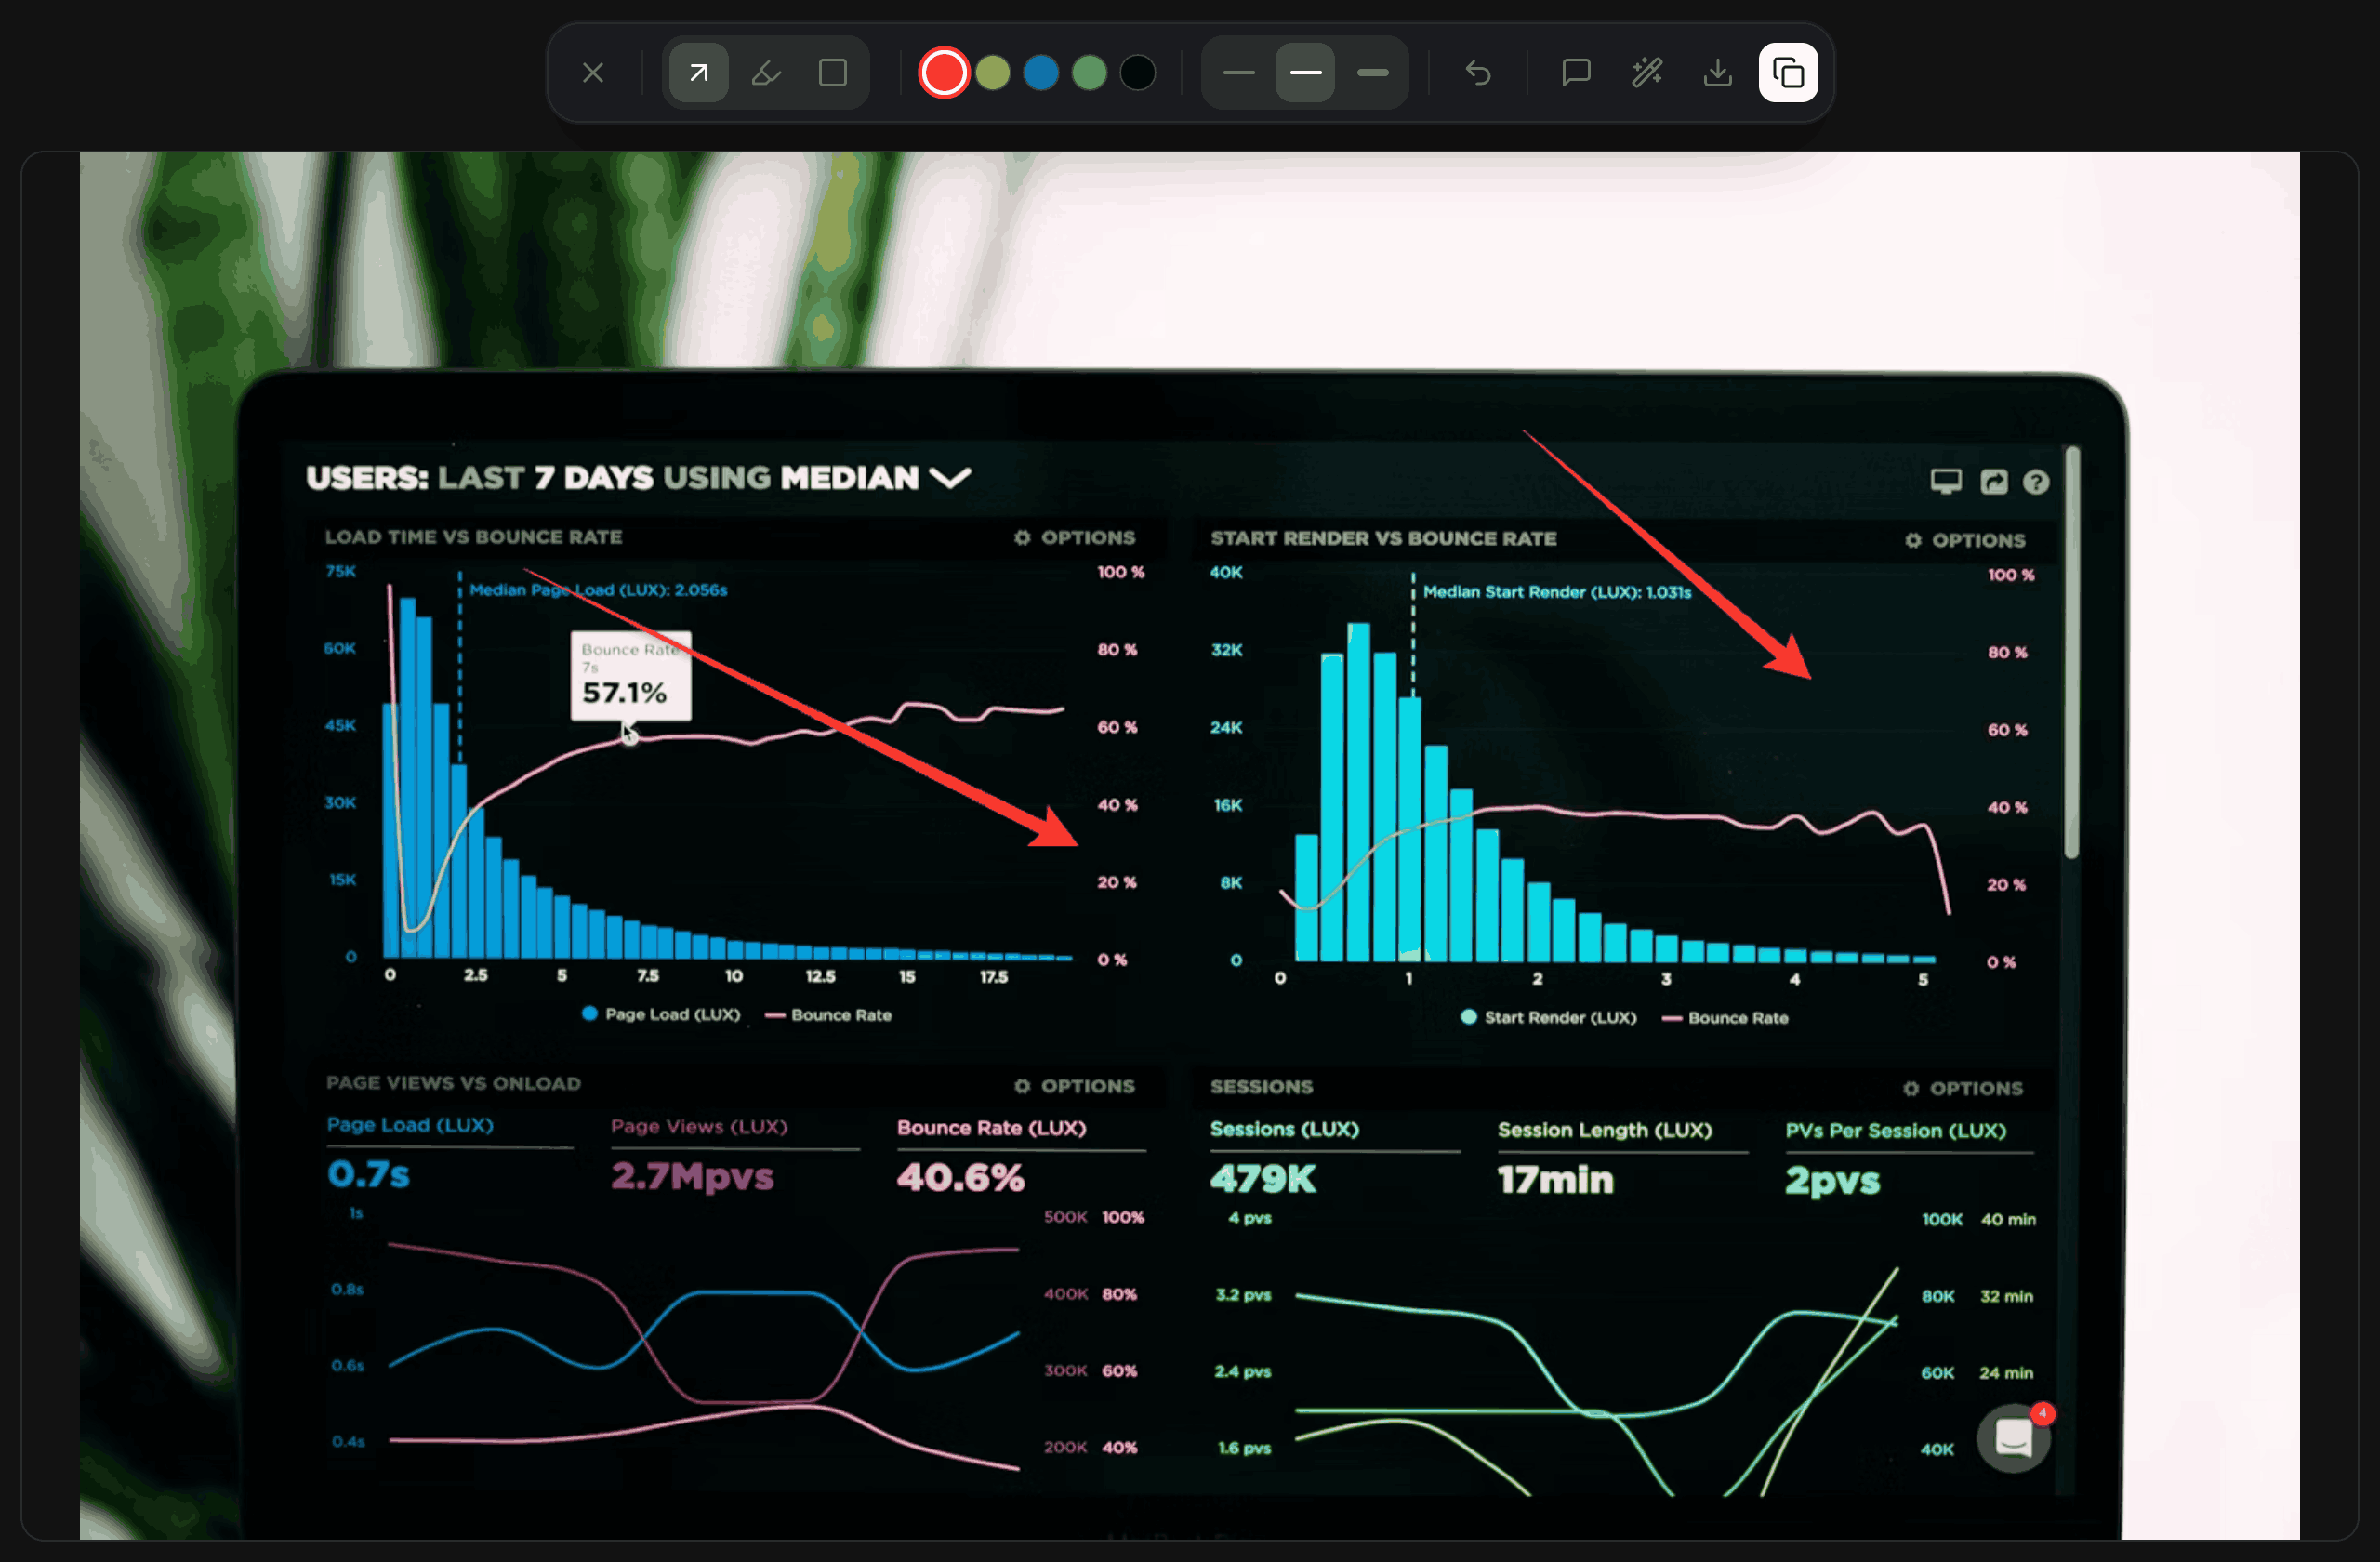
Arrows · highlights · shapes · undo with ⌘Z · copy with ⌘↵
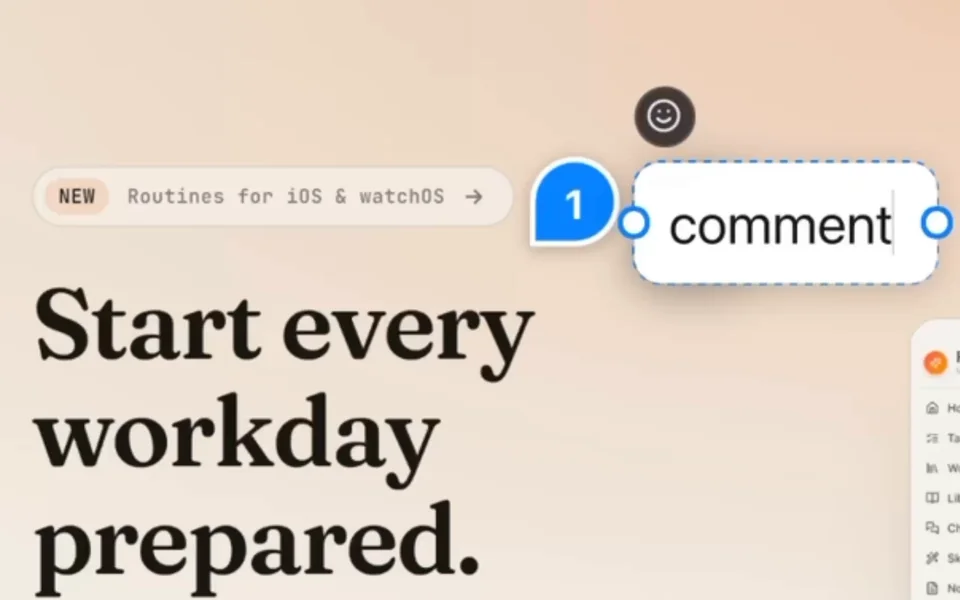
Comment tool: press C, click a spot and type. Each comment is a pin with a small card.
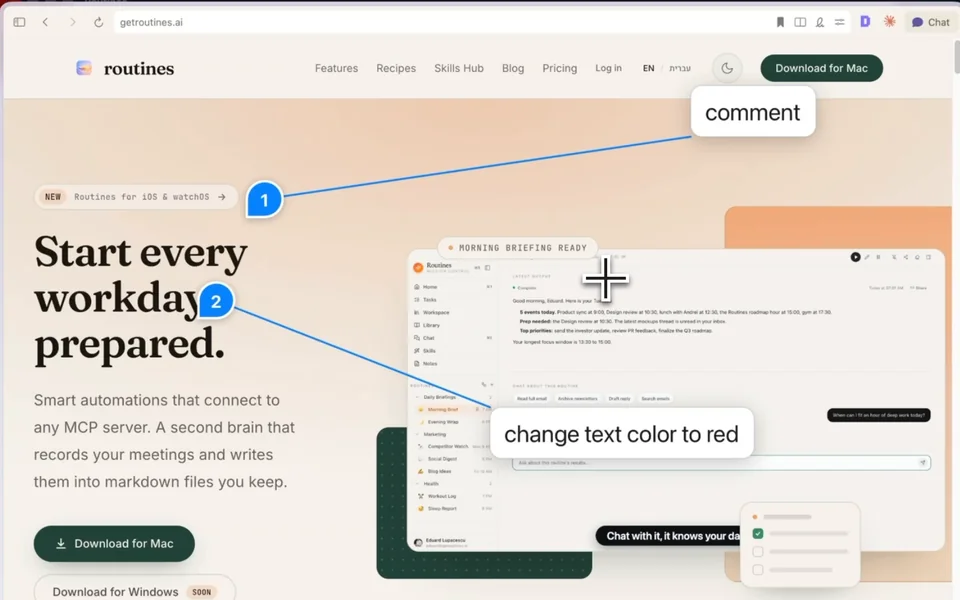
Move and edit comments later. Text stays editable too: T opens the text tool, Escape steps back to the arrow.
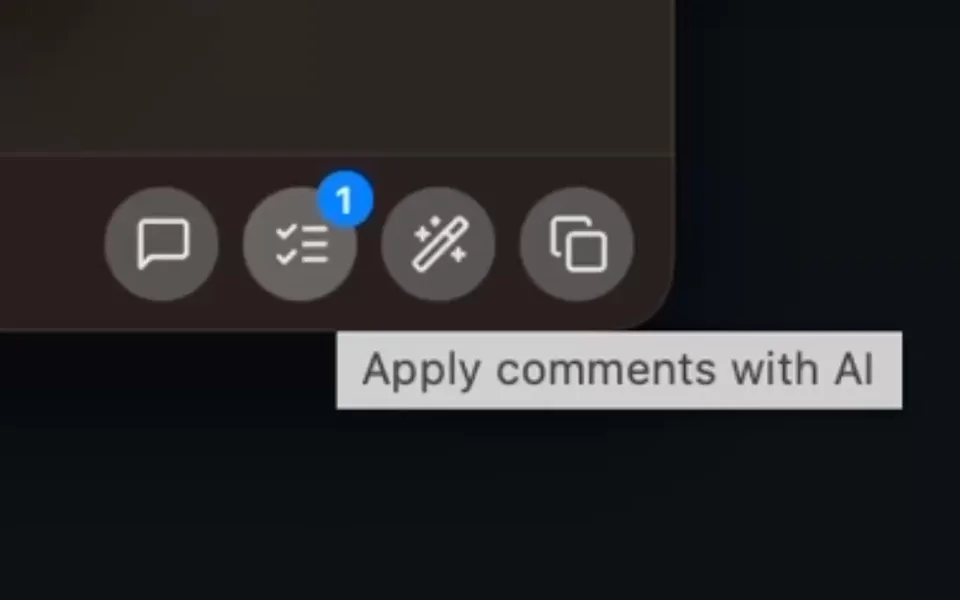
Apply comments with AI: the button next to the wand edits the image the way your comments say.
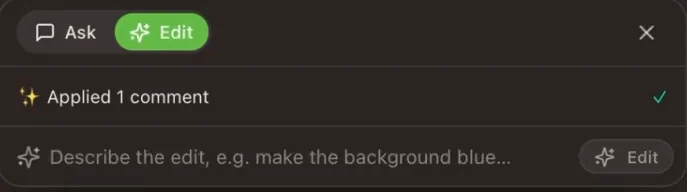
AI edits the image the way your comments say. Undo brings the original back.
New: AI image editing
Switch the editor chat panel to Edit mode and type what you want changed. The capture is replaced in-place by an AI-edited version, with your annotations already baked in. One ⌘Z brings back the original. Edit mode is the one place a capture is sent to OpenAI, on your own OpenAI key, and nothing about it is kept anywhere.
Leave comments on a capture and press the button next to the wand: AI edits the image the way they say, and undo brings the original back.
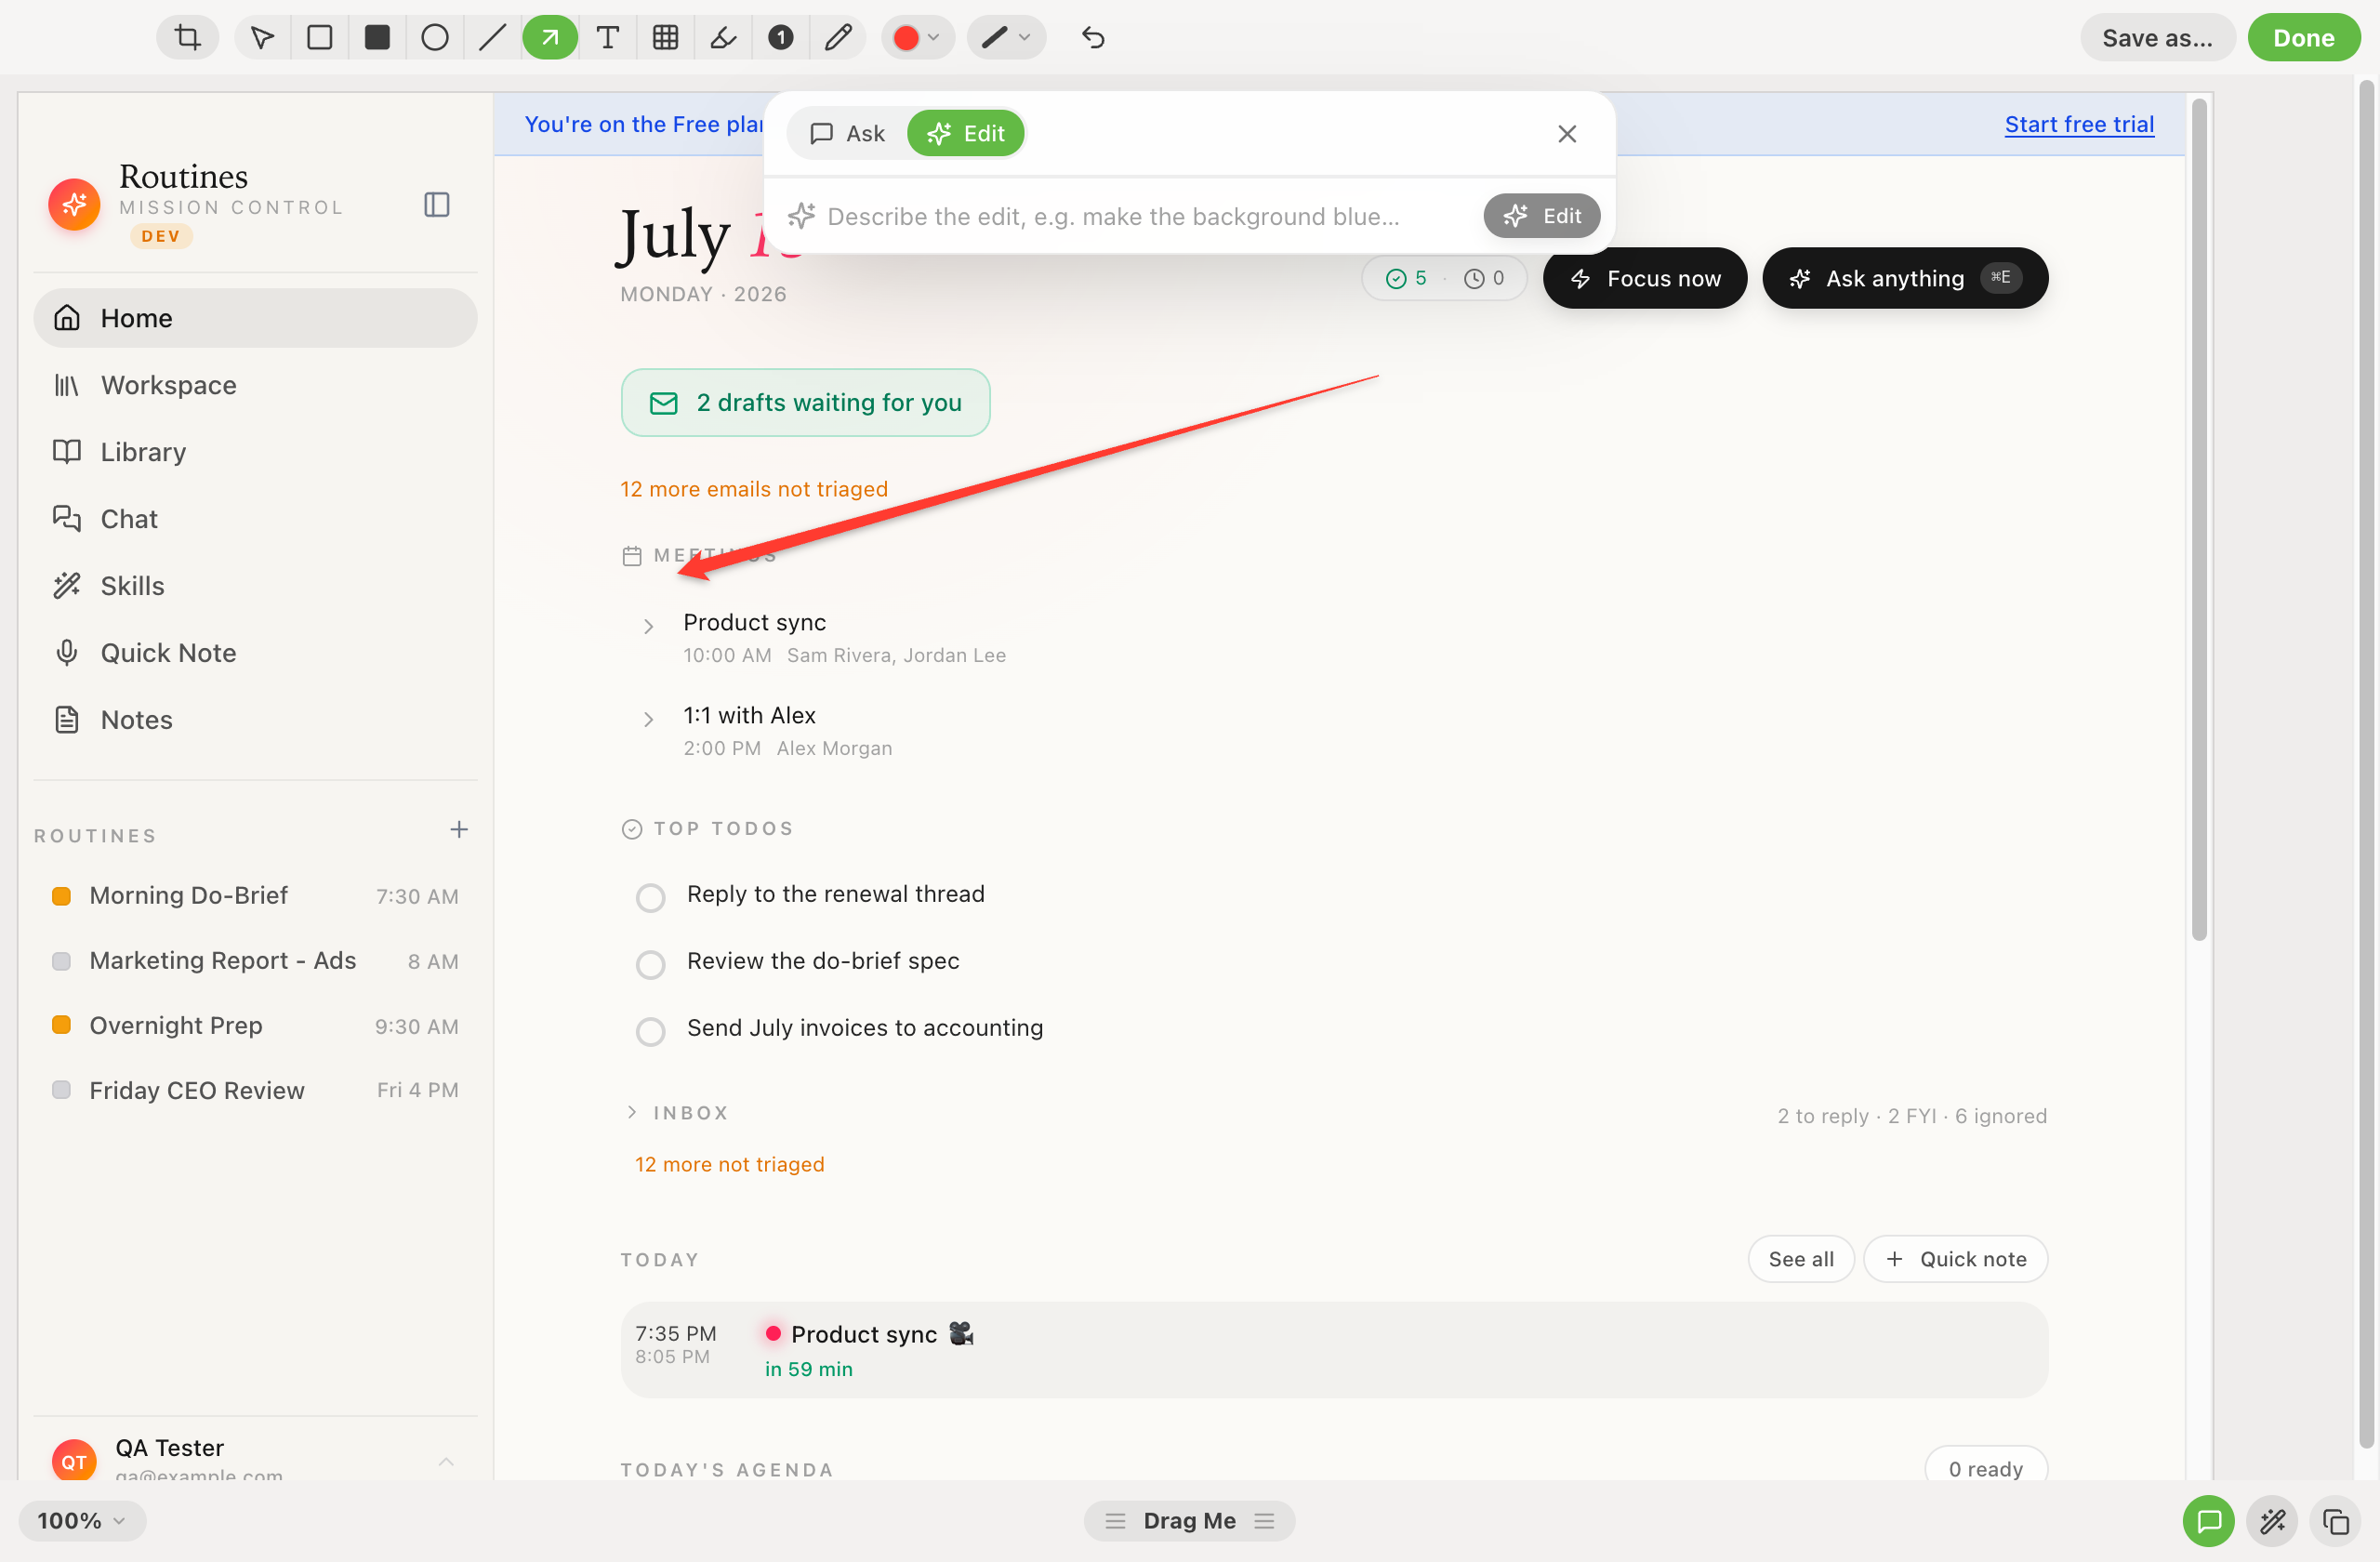
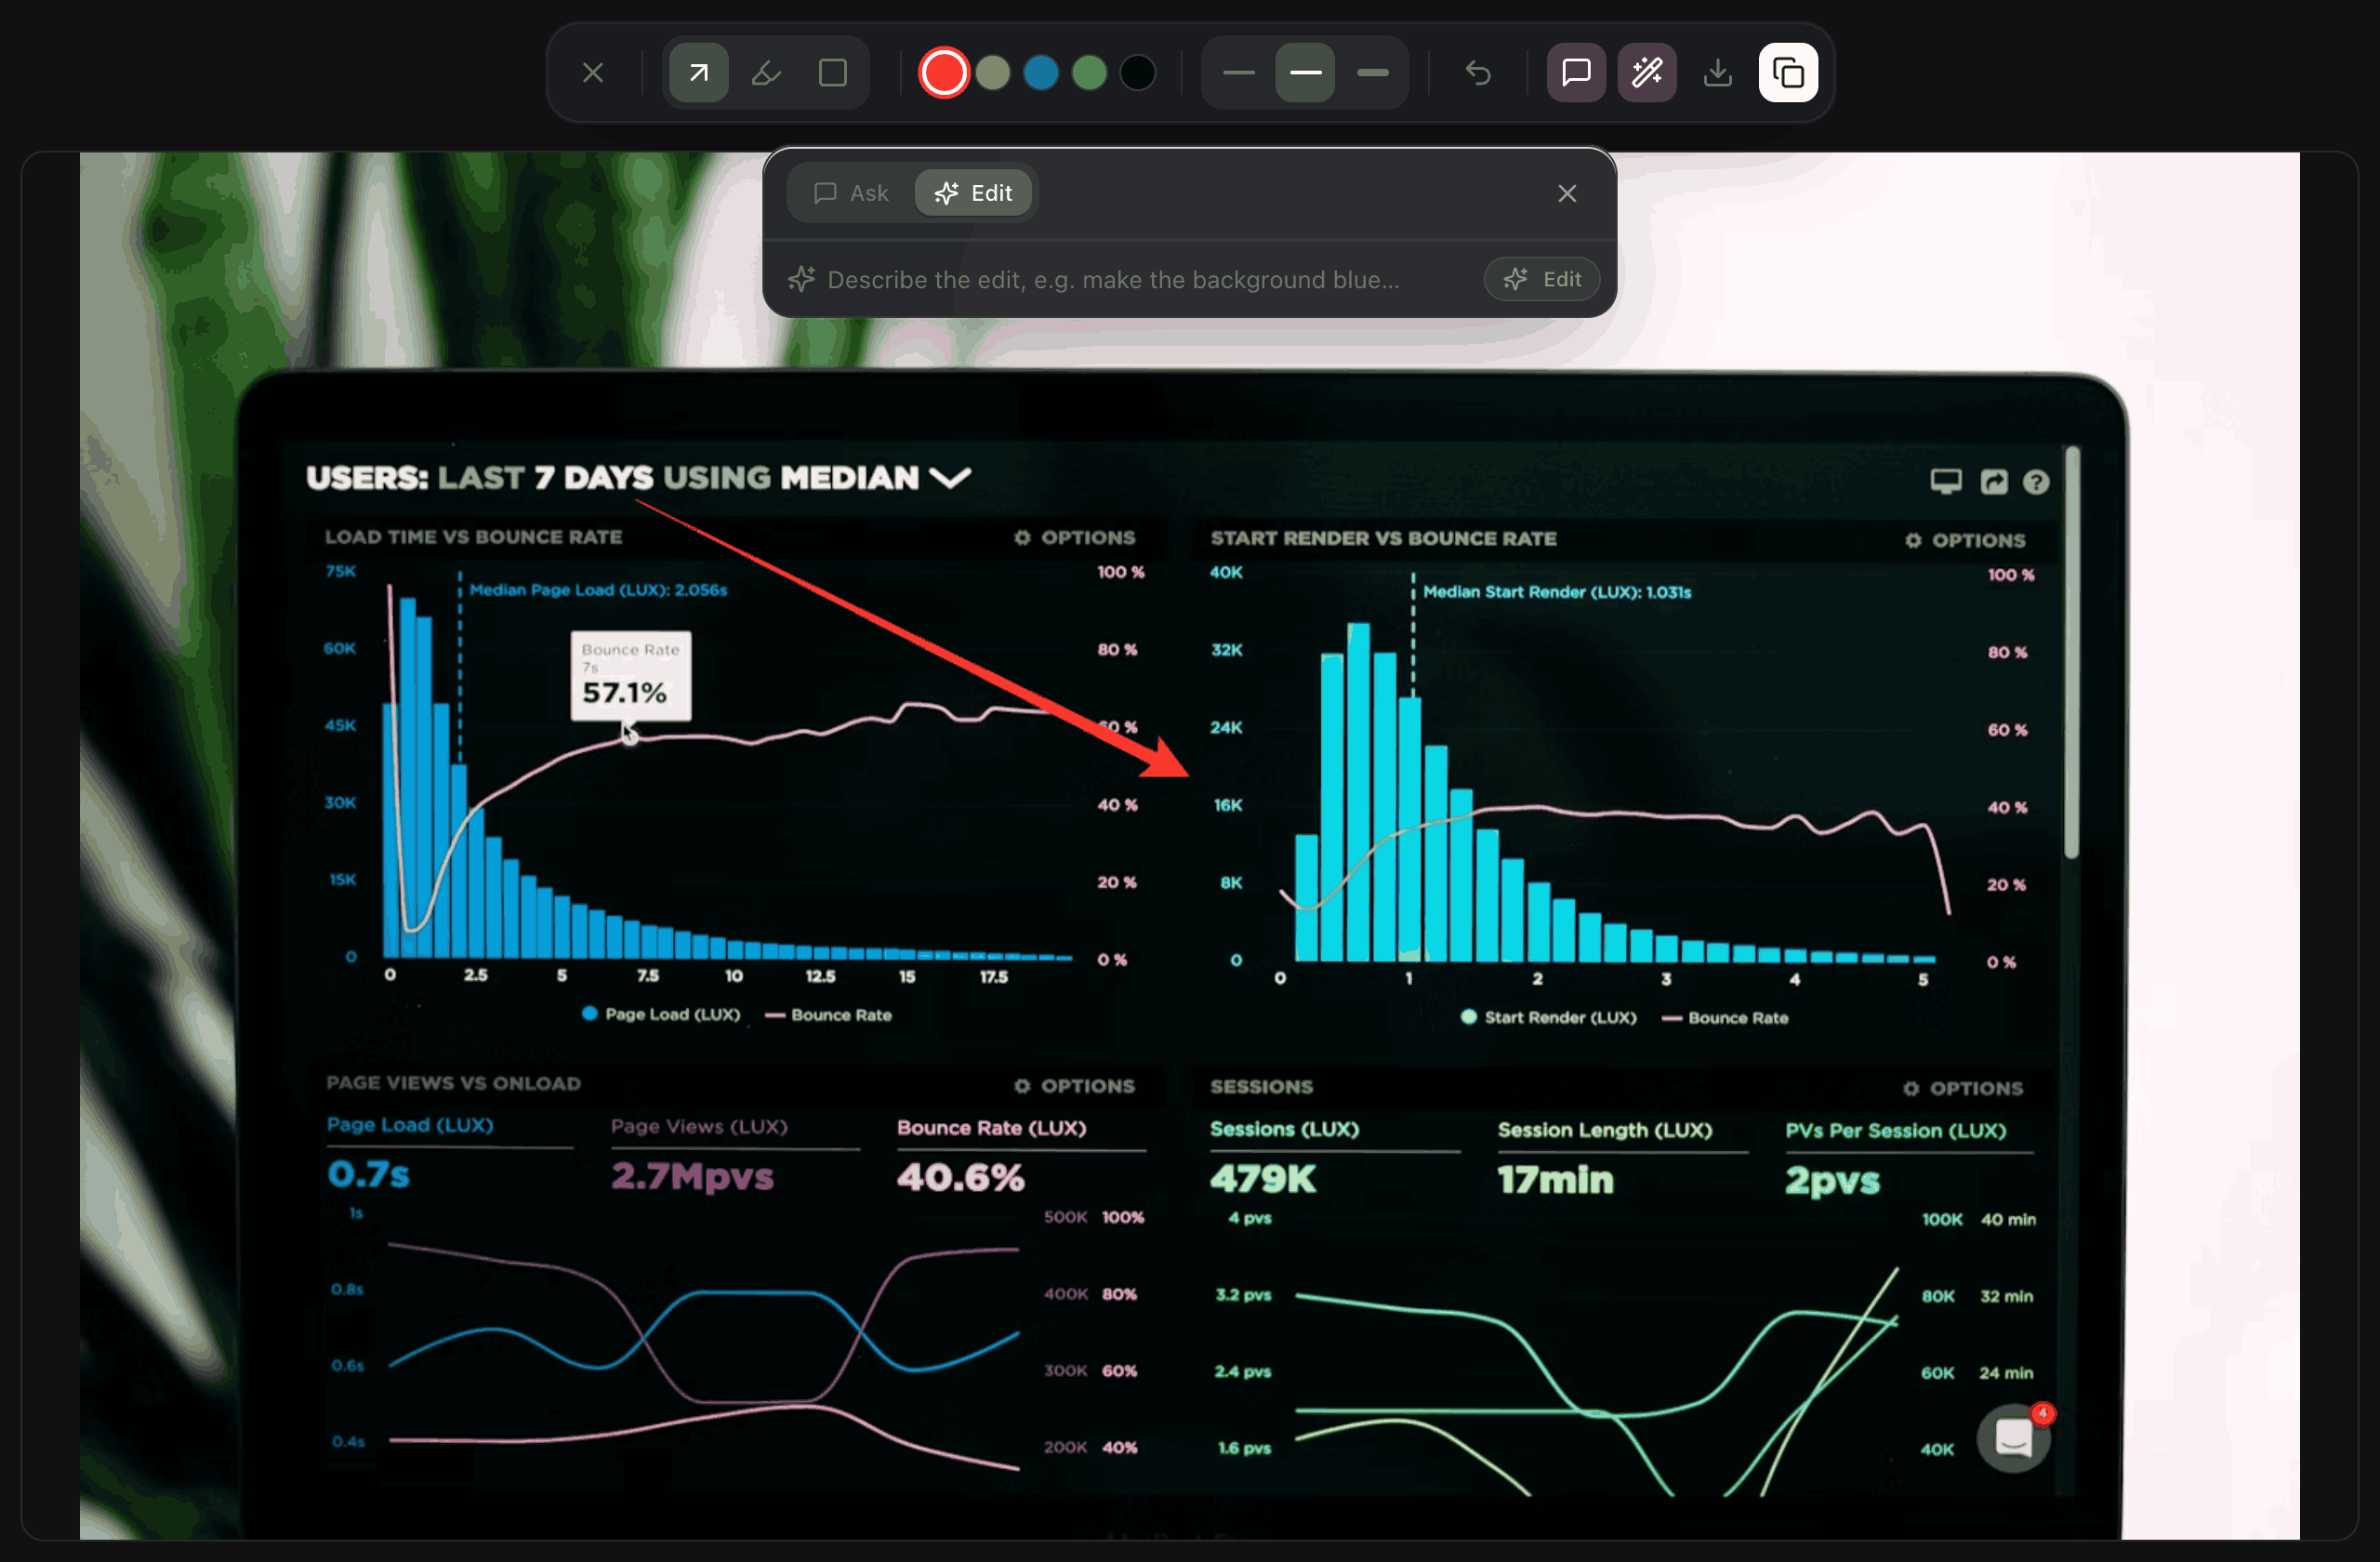
Ask about it · or edit it · ⌘Z to undo · nothing synced
Make it yours
Capture area
Drag to grab any region of any screen
After capture
Open the editor, or copy straight to the clipboard
Set your own shortcut in Settings → Screenshots
01
Press ⇧⌘S anywhere in macOS and the capture overlay drops in instantly. No window to open, no menu to hunt for. The global shortcut works whether you are in Mail, a browser, or a design tool.
02
Drag a rectangle over any part of any screen and release. Pick a single window, a chart, a paragraph, or a slice across two monitors. You frame exactly the pixels that matter.
03
The capture opens in a CleanShot-style editor. Drop arrows, highlights, and shapes in eight colors, adjust stroke weight, undo any step with ⌘Z. Hit ⌘↵ to copy the annotated image. Prefer instant clipboard? Turn off the editor in one click.
04
Type an instruction in the editor chat panel and the capture is replaced in-place by an AI-edited version. "Make the background blue." "Remove the sidebar." One ⌘Z brings back the original, alongside annotation undo.
05
Hit ⌘V into any Routines chat and Claude reads the image itself. Paste a meeting proposal screenshot and it offers to add the event to your calendar. The AI sees what you saw.
06
The capture is written to a temporary file inside the app folder Routines owns, and it is removed the moment you copy, save, or cancel. Nothing is synced, and nothing is uploaded unless you press Share link, which puts that one image on getroutines.ai behind a public link. If you ask the AI about a shot, that image goes to the model: through Routines AI, which does not store it, or straight to your provider when you run on your own key.
Snap any screen area, annotate it, let AI edit it in-place, or paste it so Claude reads the pixels. Local, instant, nothing saved to disk.
DownloadQuestions